Create API User
To authenticate, the user must have a username and password. The login credentials for the API are not the same as the credentials for logging into the AROBS TrackGPS fleet management platform, so it is necessary to create special users for API access. API users can be created directly from the AROBS TrackGPS web platform by following the steps below:
- Access the AROBS TrackGPS application, and from the left menu, select “Administration” and then “Email Addresses”.
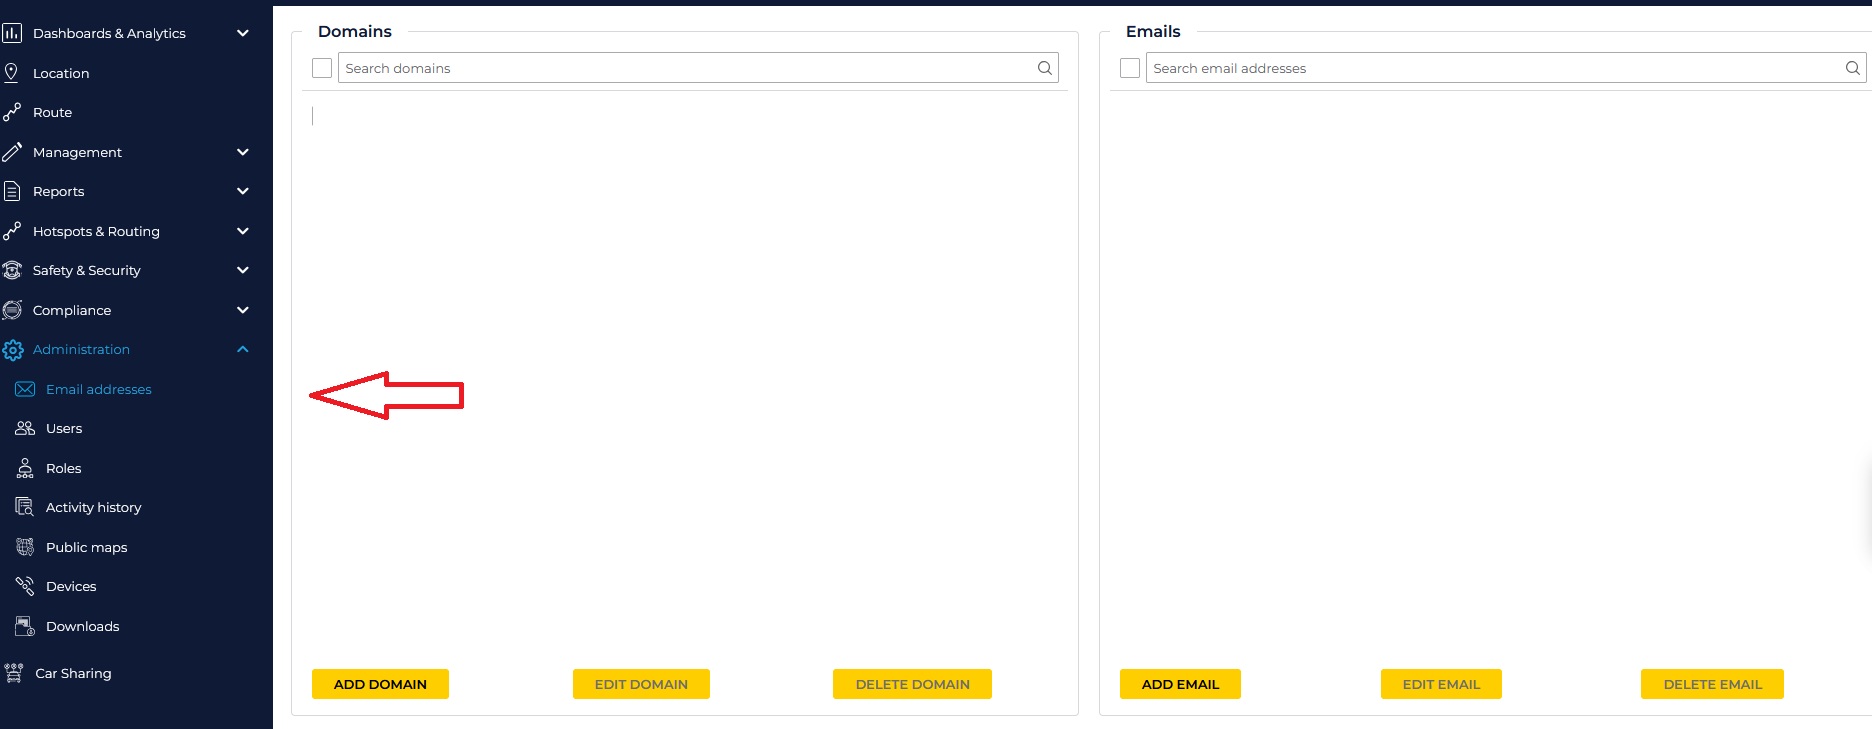
- From the window that opens, click the “Add Email” button (in the bottom right corner of the window).

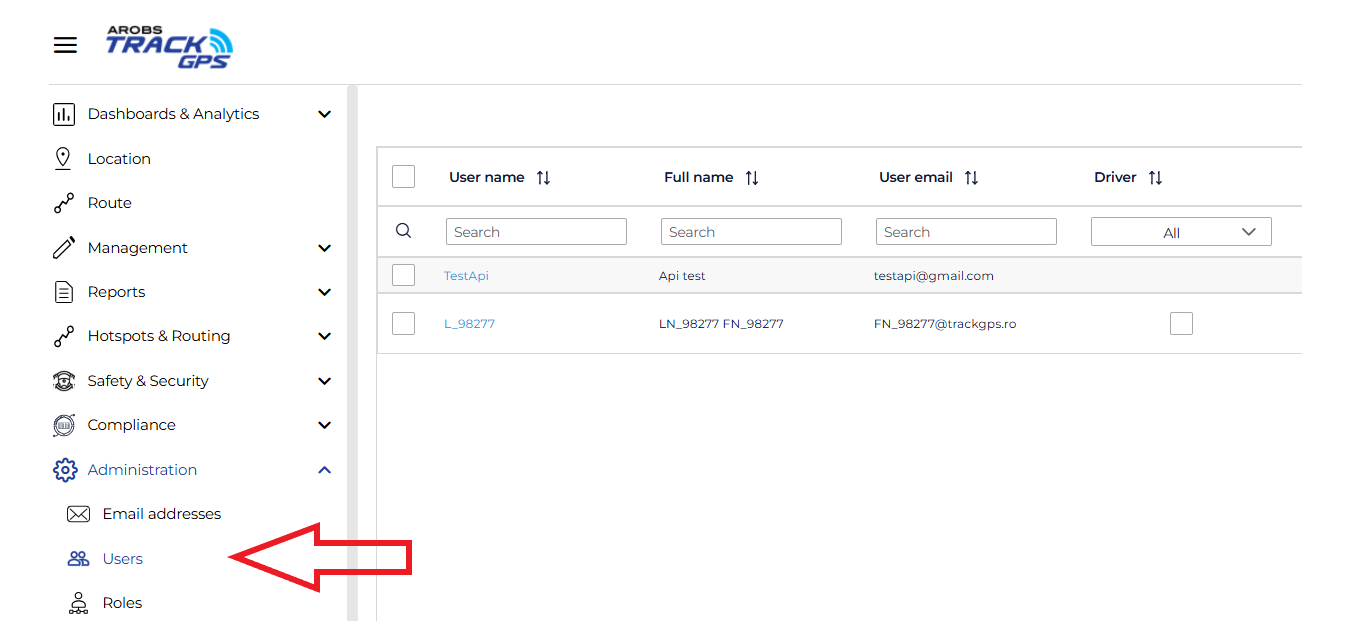
- Access the AROBS TrackGPS application, then from the left menu
select “Administration” and then “Users”
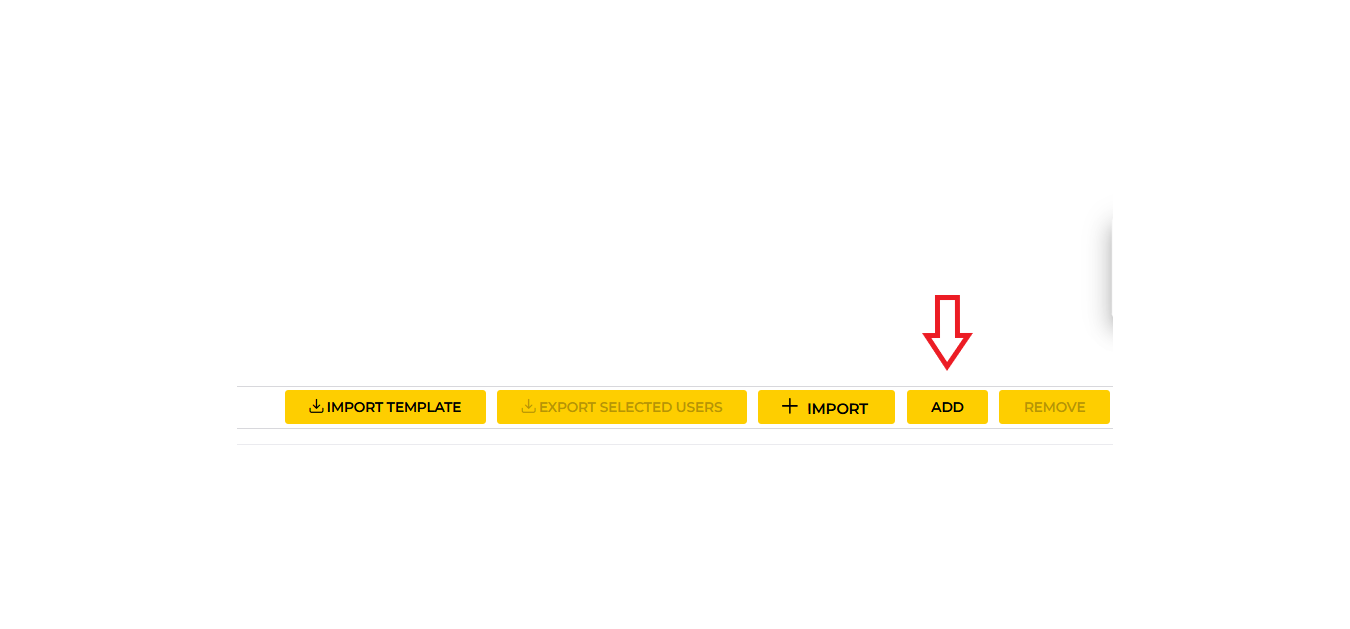
- In the window that opens, click the “Add” button (in the bottom right corner of the window)
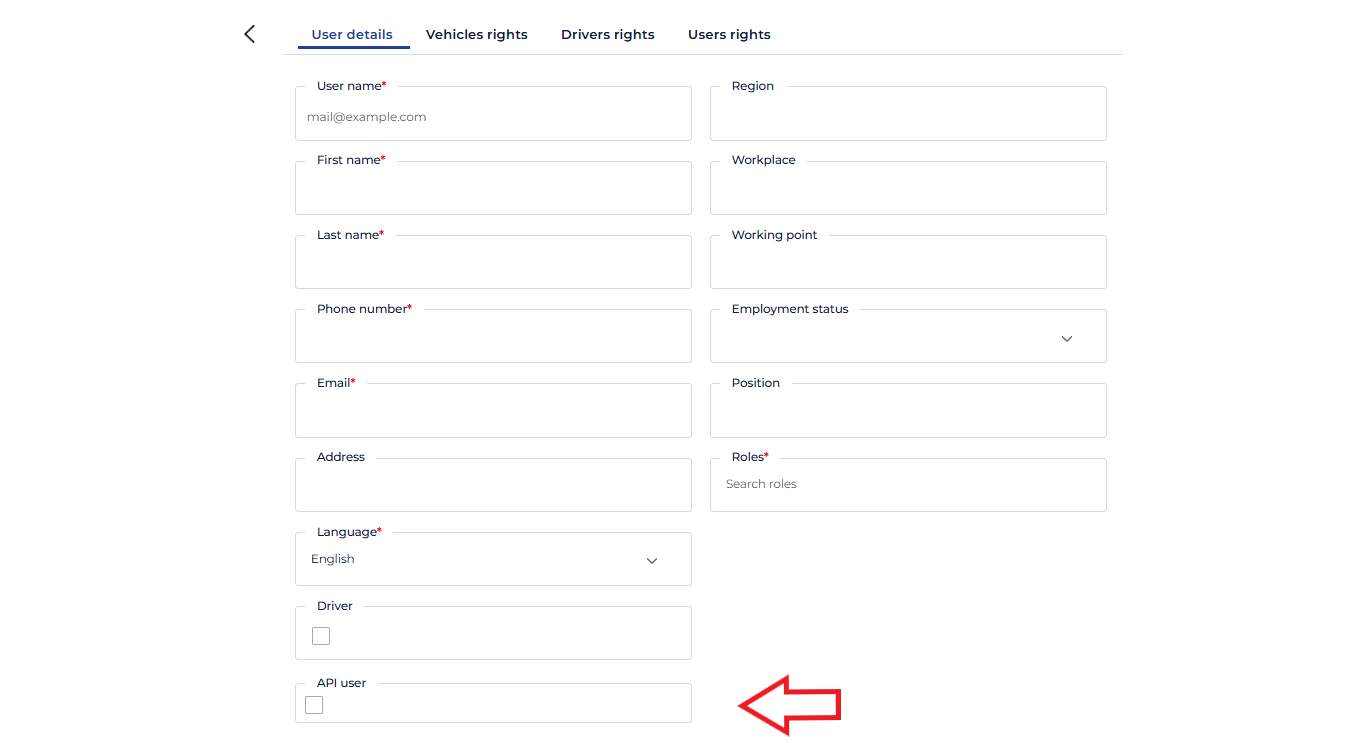
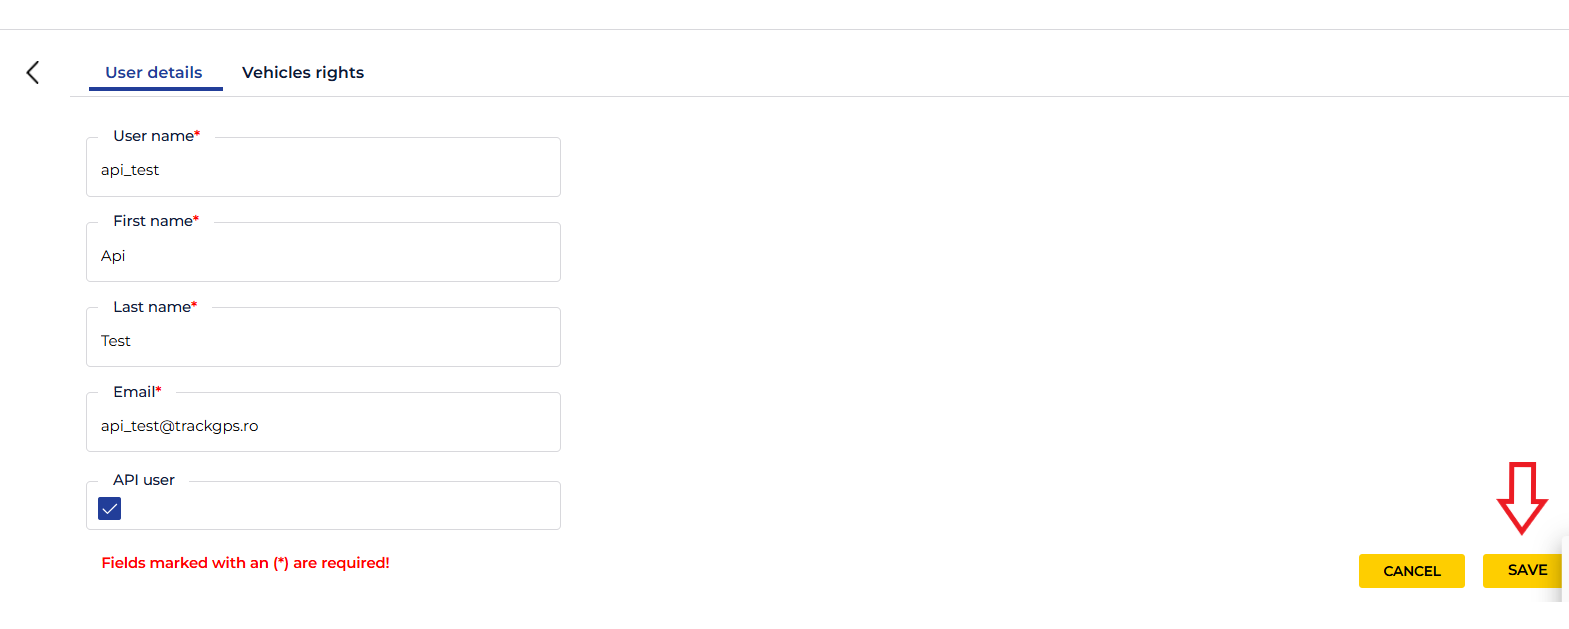
- After clicking the “Add” button, a new window will open where you will find the options for creating a new user. To create an API user, check the “API User” box in the User Details section, after which some options such as “Driver Rights” or “User Rights” will be hidden. Basically, in the “User Details” window, only 4 pieces of information need to be filled in: • Username – this will be the username for API authentication • First Name – used for identifying the user • Last Name – used for identifying the user • Email – the email address associated with the user, which will be used to activate the user and set the access password
Attention: This user cannot be used to log into the AROBS TrackGPS
platform. Also, a user who does not have the “API User” option checked
cannot be used for API data access.
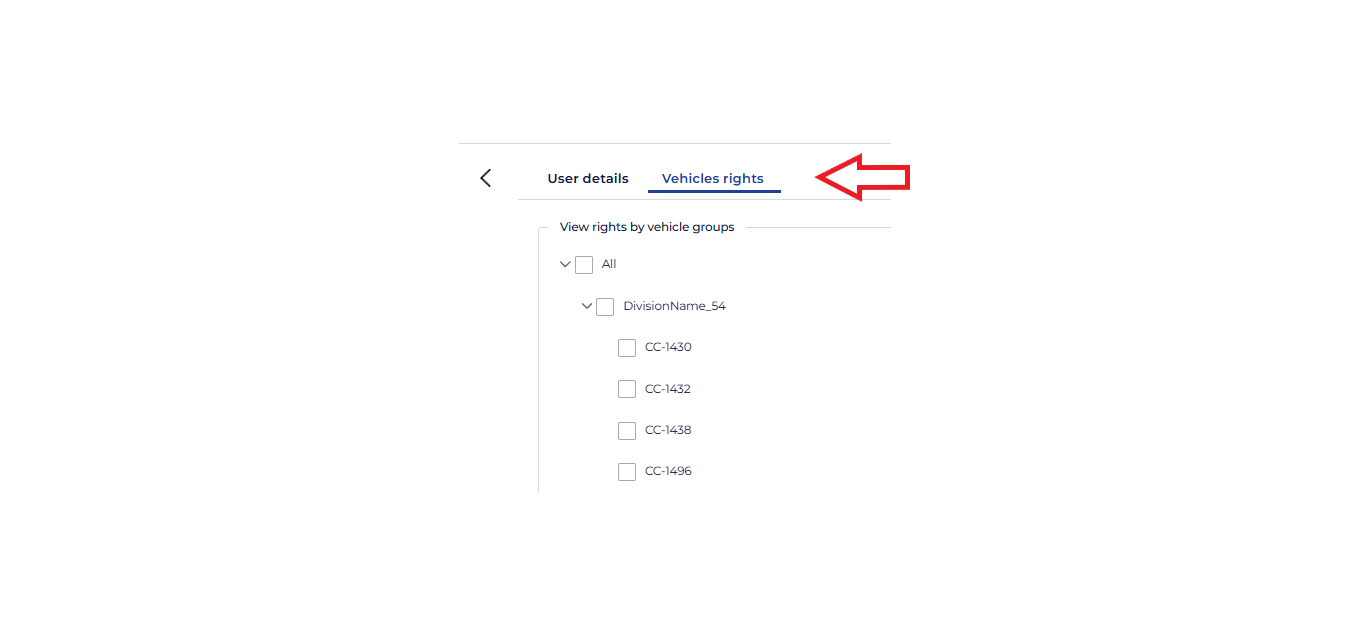
- After filling in the information in “User Details”, proceed to select
the vehicles for which API data access is desired. The selection is made
by accessing the “Vehicle Rights” option and then checking the necessary vehicles
from the list, as shown in the image below:
- Once all the necessary details are completed (user details and vehicle selection), click the “Save” button
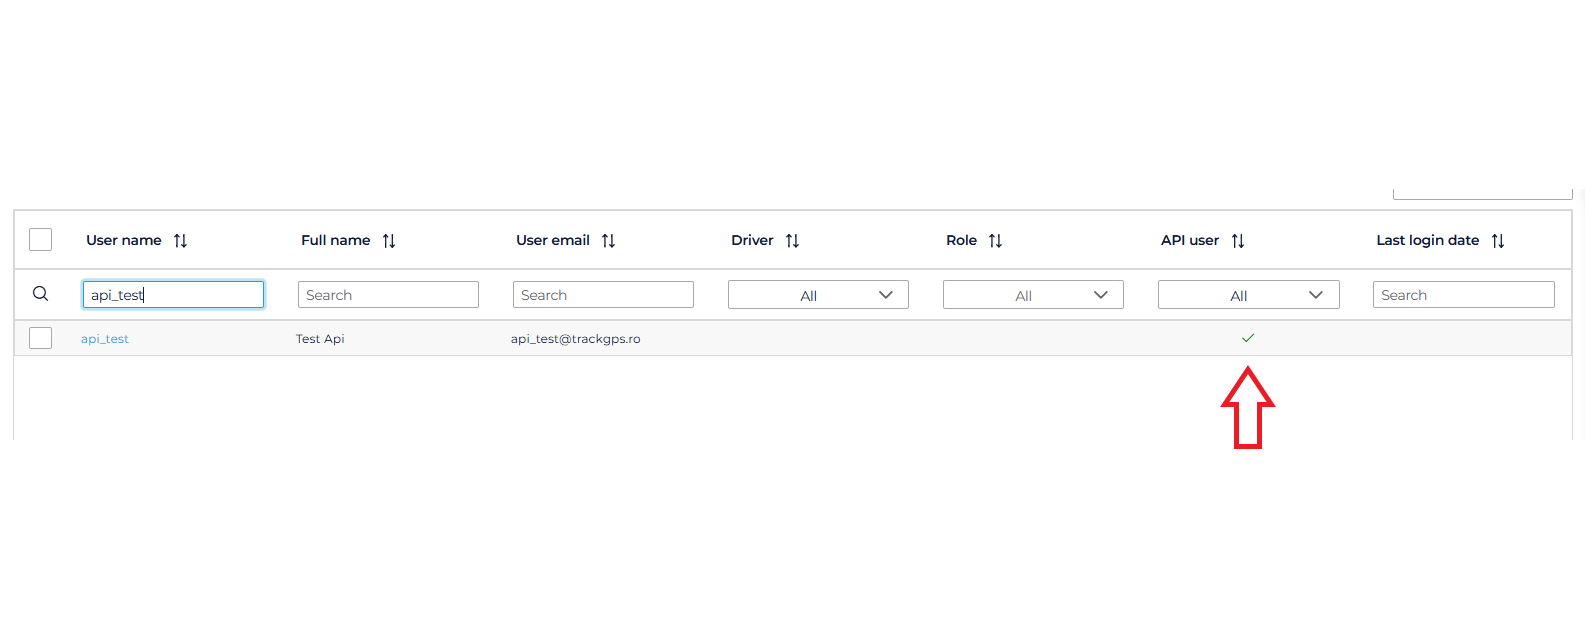
- As soon as the button is pressed and all the completed data is correct,
the user is saved and an activation email is sent. For validation,
you can check in the user list if the created user has the API user checkbox ticked.
- After the activation email arrives at the email address associated
with the user, click the “Activate account” button.
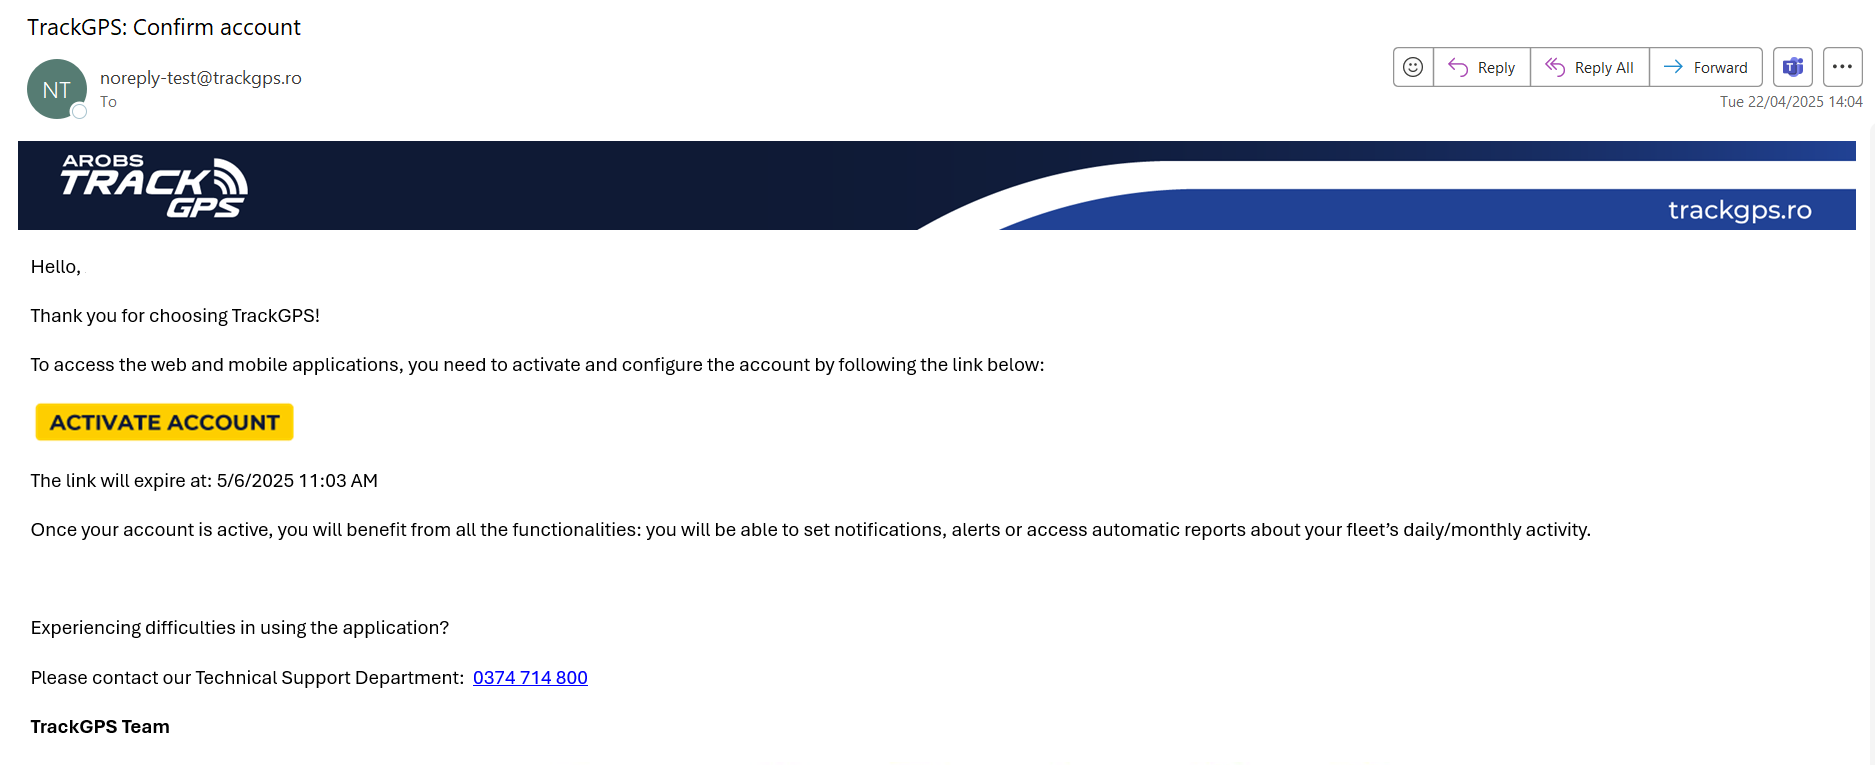 Immediately after clicking the button, a password setup page will open,
as shown in the image below:
Immediately after clicking the button, a password setup page will open,
as shown in the image below:
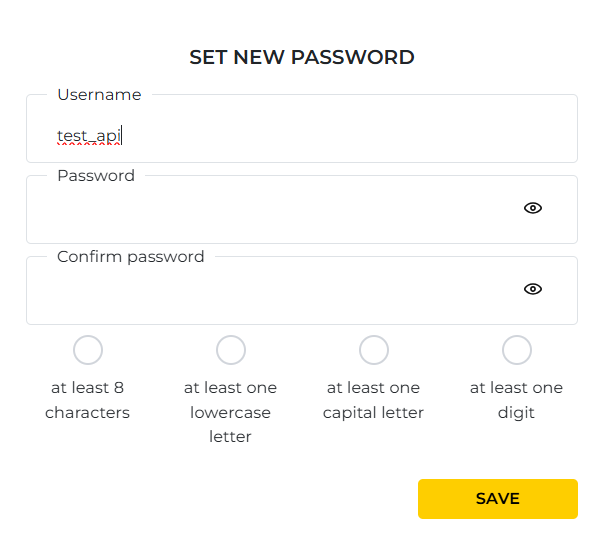
- Enter the desired password, which must contain:
- At least 8 characters
- At least one lowercase letter
- At least one digit
- At least one uppercase letter
- Finally, click the “Save” button, after which the user is ready to be used for API data access.